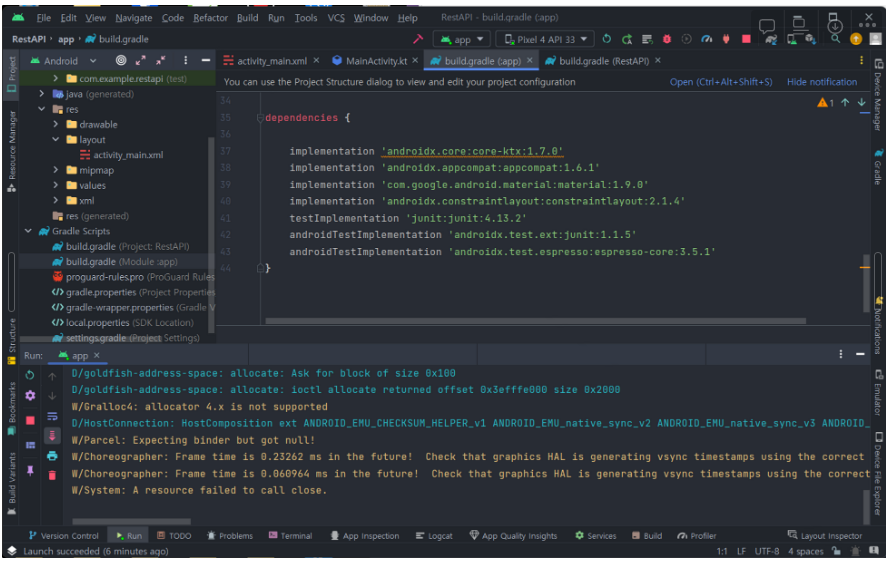
1. 의존성 추가

Rest Api를 사용하는데 있어 다양한 라이브러리가 존재하지만 여기서는 가장 속도가 빠른 Retrofit를 사용할 계획이다.
https://mvnrepository.com/artifact/com.squareup.retrofit2/converter-gson
https://mvnrepository.com/artifact/com.squareup.retrofit2/retrofit
해당 링크에서 최신 버전을 클릭 후 Gradle (Short)의 내용을 사용을 권장합니다.
implementation 'com.squareup.retrofit2:retrofit:2.9.0'
implementation 'com.squareup.retrofit2:converter-gson:2.9.0'

plugins {
    id 'com.android.application'
    id 'org.jetbrains.kotlin.android'
}

android {
    namespace 'com.example.restapi'
    compileSdk 33

    defaultConfig {
        applicationId "com.example.restapi"
        minSdk 23
        targetSdk 33
        versionCode 1
        versionName "1.0"

        testInstrumentationRunner "androidx.test.runner.AndroidJUnitRunner"
    }

    buildTypes {
        release {
            minifyEnabled false
            proguardFiles getDefaultProguardFile('proguard-android-optimize.txt'), 'proguard-rules.pro'
        }
    }
    compileOptions {
        sourceCompatibility JavaVersion.VERSION_1_8
        targetCompatibility JavaVersion.VERSION_1_8
    }
    kotlinOptions {
        jvmTarget = '1.8'
    }
}

dependencies {

    implementation 'androidx.core:core-ktx:1.7.0'
    implementation 'androidx.appcompat:appcompat:1.6.1'
    implementation 'com.google.android.material:material:1.9.0'
    implementation 'androidx.constraintlayout:constraintlayout:2.1.4'
    implementation 'com.squareup.retrofit2:retrofit:2.9.0'
    implementation 'com.squareup.retrofit2:converter-gson:2.9.0'
    testImplementation 'junit:junit:4.13.2'
    androidTestImplementation 'androidx.test.ext:junit:1.1.5'
    androidTestImplementation 'androidx.test.espresso:espresso-core:3.5.1'
}
위의 Sync Now 버튼 클릭
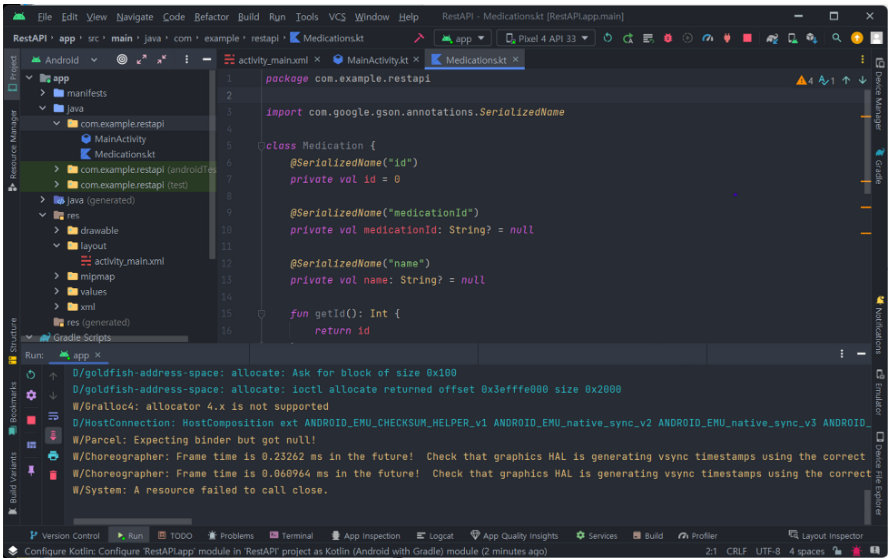
2. Entity용 코틀린 클래스 추가 (Medications)
Spring Boot와 Mysql 데이터 베이스에서 사용할 엔티티와 동일하게 맞추어야 함! (중요)
package com.example.restapi

import com.google.gson.annotations.SerializedName

class Medication {
    @SerializedName("id")
    private val id = 0

    @SerializedName("medicationId")
    private val medicationId: String? = null

    @SerializedName("name")
    private val name: String? = null

    fun getId(): Int {
        return id
    }

    fun getMedicationId(): String? {
        return medicationId
    }

    fun getName(): String? {
        return name
    }
    // toString()을 Override 해주지 않으면 객체 주소값을 출력함
    override fun toString(): String {
        return "Result{" +
                "id=" + id +
                ", body='" + medicationId + '\\'' +
                ", name='" + name + '\\'' +
                '}'
    }
}
3. RestAPI용 인터페이스 생성
medications/id의 url을 통해 id 정보를 받아 데이터 베이스에서 해당 id의 스키마를 객체로 가져오도록 설계 (ORM)
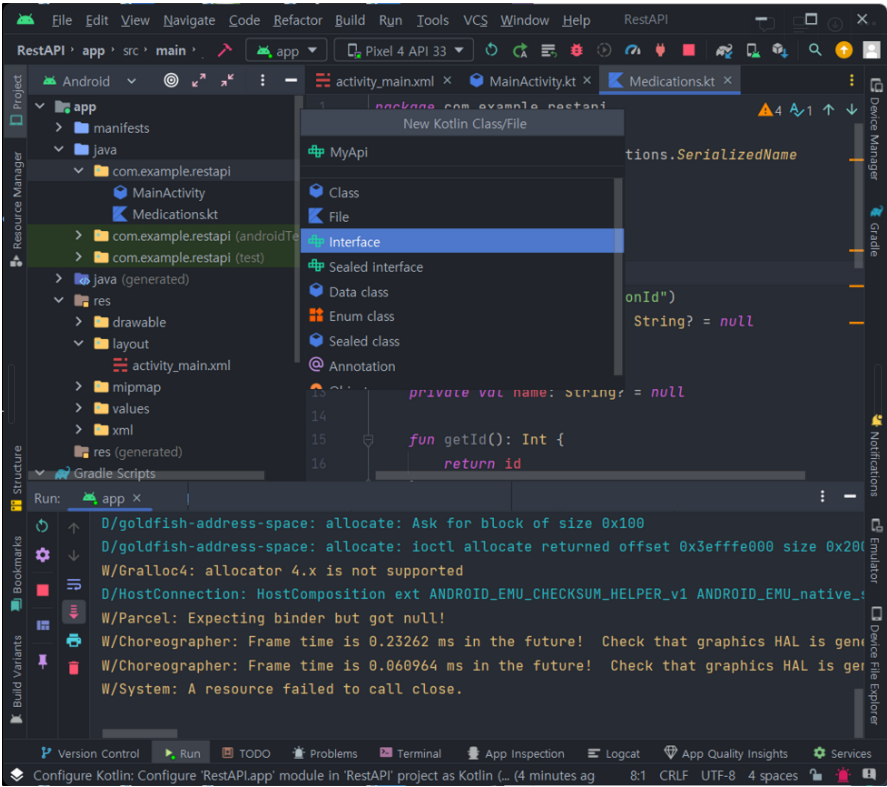

package com.example.restapi

import retrofit2.Call
import retrofit2.http.GET
import retrofit2.http.Path

interface MyApi {
    @GET("medications/{id}")
    fun getMedication(@Path("id") id: Int): Call<Medication>
}
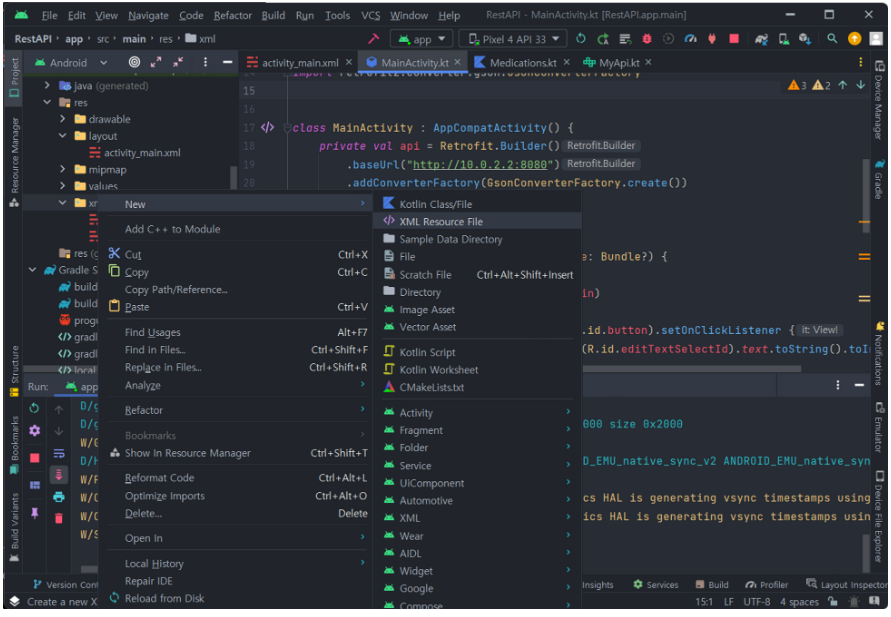
4. MainActivity 코드 작성
주의!: 서버를 우리가 사용하는 컴퓨터에서 직접 실행할 때 사용하는 http://localhost:포트번호(http://127.0.0.1:포트번호)를 사용하지 않고 특별한 url인 http://10.0.2.2:포트번호 을 사용해야 한다.
이유는 안드로이드 에뮬레이터는 본인의 컴퓨터와는 별도의 컴퓨터로 동작하기 때문이다.
그렇기에 본인의 컴퓨터를 가르키는 url을 사용하면 애뮬레이터에 접근 할 수 없기 때문에 우리는 안드로이드 애뮬레이터에서만 사용되는 특별한 주소 http://10.0.2.2:포트번호를 사용해야 한다.
+우리는 Spring-Boot 안에 내장되어 있는 톰캣 서버를 사용하기 때문에 8080 포트를 사용한다.
package com.example.restapi
import android.os.Bundle
import android.widget.Button
import android.widget.EditText
import android.widget.TextView
import androidx.appcompat.app.AppCompatActivity
import kotlinx.coroutines.CoroutineScope
import kotlinx.coroutines.Dispatchers
import kotlinx.coroutines.launch
import kotlinx.coroutines.withContext
import retrofit2.Retrofit
import retrofit2.converter.gson.GsonConverterFactory
class MainActivity : AppCompatActivity() {
// url 정보 세팅
private val api = Retrofit.Builder()
.baseUrl("http://10.0.2.2:8080")
.addConverterFactory(GsonConverterFactory.create())
.build()
.create(MyApi::class.java)
override fun onCreate(savedInstanceState: Bundle?) {
super.onCreate(savedInstanceState)
setContentView(R.layout.activity_main)
// 버튼을 클릭하면 editTextSelectId에 입력된 정수를 id로 사용하여 fectchData()함수를 사용한다.
var button = findViewById<Button>(R.id.button).setOnClickListener {
val id = findViewById<EditText>(R.id.editTextSelectId).text.toString().toInt()
fetchData(id)
}
}
// 서버를 통해 해당 id에 대응 하는 데이터베이스 스키마의 값을 가지고 온다.
private fun fetchData(id:Int) {
var textViewMedication = findViewById<TextView>(R.id.textViewMedicationId)
var textViewName = findViewById<TextView>(R.id.textViewName)
CoroutineScope(Dispatchers.IO).launch {
val response = api.getMedication(id).execute()
withContext(Dispatchers.Main) {
if (response.isSuccessful) {
val medication = response.body()
if (medication != null) {
textViewMedication.setText(medication.getMedicationId())
textViewName.setText(medication.getName())
}
} else {
// TODO: Handle error
}
}
}
}
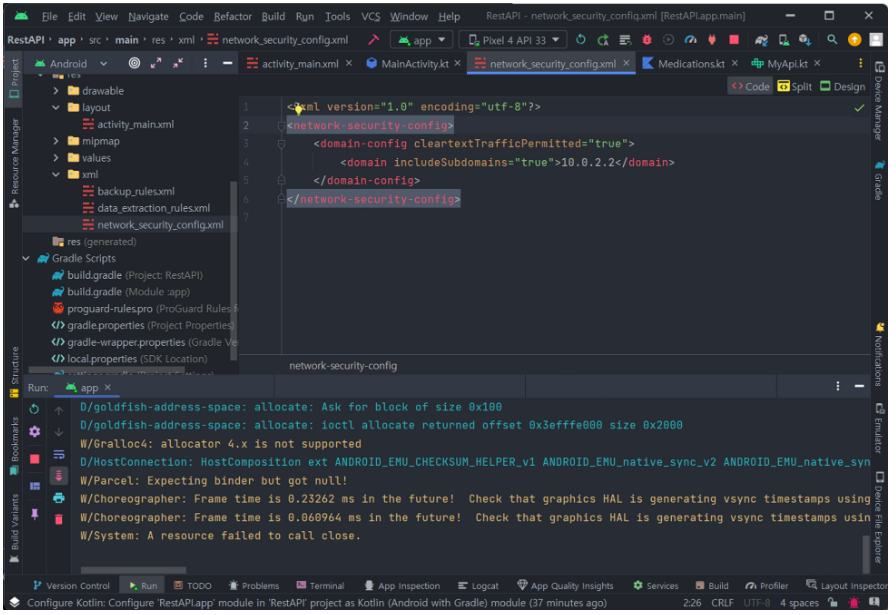
}5. network_security_config.xml 작성
안드로이드 9(Pie) 이후 버전에서는 암호화되지 않은 네트워크 트래픽이 중간에서 가로채어질 수 있는 위험성을 줄이기 위해 HTTP 트래픽에 대한 접근을 기본적으로 차단한다.
따라서 개발자는 서버와 안드로이드 앱 간의 통신에 HTTPS를 사용해야 하는데 지금 개발 과정에서는 HTTPS를 설정하지 않은 로컬 서버를 사용하기 때문에 별도의 설정 파일로 HTTP 트래픽을 허용하도록 해야 한다.
<?xml version="1.0" encoding="utf-8"?>
<network-security-config>
    <domain-config cleartextTrafficPermitted="true">
        <domain includeSubdomains="true">10.0.2.2</domain>
    </domain-config>
</network-security-config>
6. AndroidMainfest.xml 파일 수정
위에서 작성한 예외 보안그룹의 정보를 설정파일에 입력해 주어야 한다.
<application
	.
	.
	.
	android:networkSecurityConfig="@xml/network_security_config"
	.
	.
	.
</application>
<추가한 뒤 전체 코드>
<?xml version="1.0" encoding="utf-8"?>
<manifest xmlns:android="http://schemas.android.com/apk/res/android"
    xmlns:tools="http://schemas.android.com/tools">
    <uses-permission android:name="android.permission.INTERNET" />
    <application
        android:allowBackup="true"
        android:dataExtractionRules="@xml/data_extraction_rules"
        android:fullBackupContent="@xml/backup_rules"
        android:icon="@mipmap/ic_launcher"
        android:label="@string/app_name"
        android:supportsRtl="true"
        android:networkSecurityConfig="@xml/network_security_config"
        android:theme="@style/Theme.RestAPI"
        tools:targetApi="31">
        <activity
            android:name=".MainActivity"
            android:exported="true">
            <intent-filter>
                <action android:name="android.intent.action.MAIN" />

                <category android:name="android.intent.category.LAUNCHER" />
            </intent-filter>
        </activity>
    </application>

</manifest>
7. 안드로이드 프로그램 실행, Spring Boot 실행, MySQL Workbench 확인
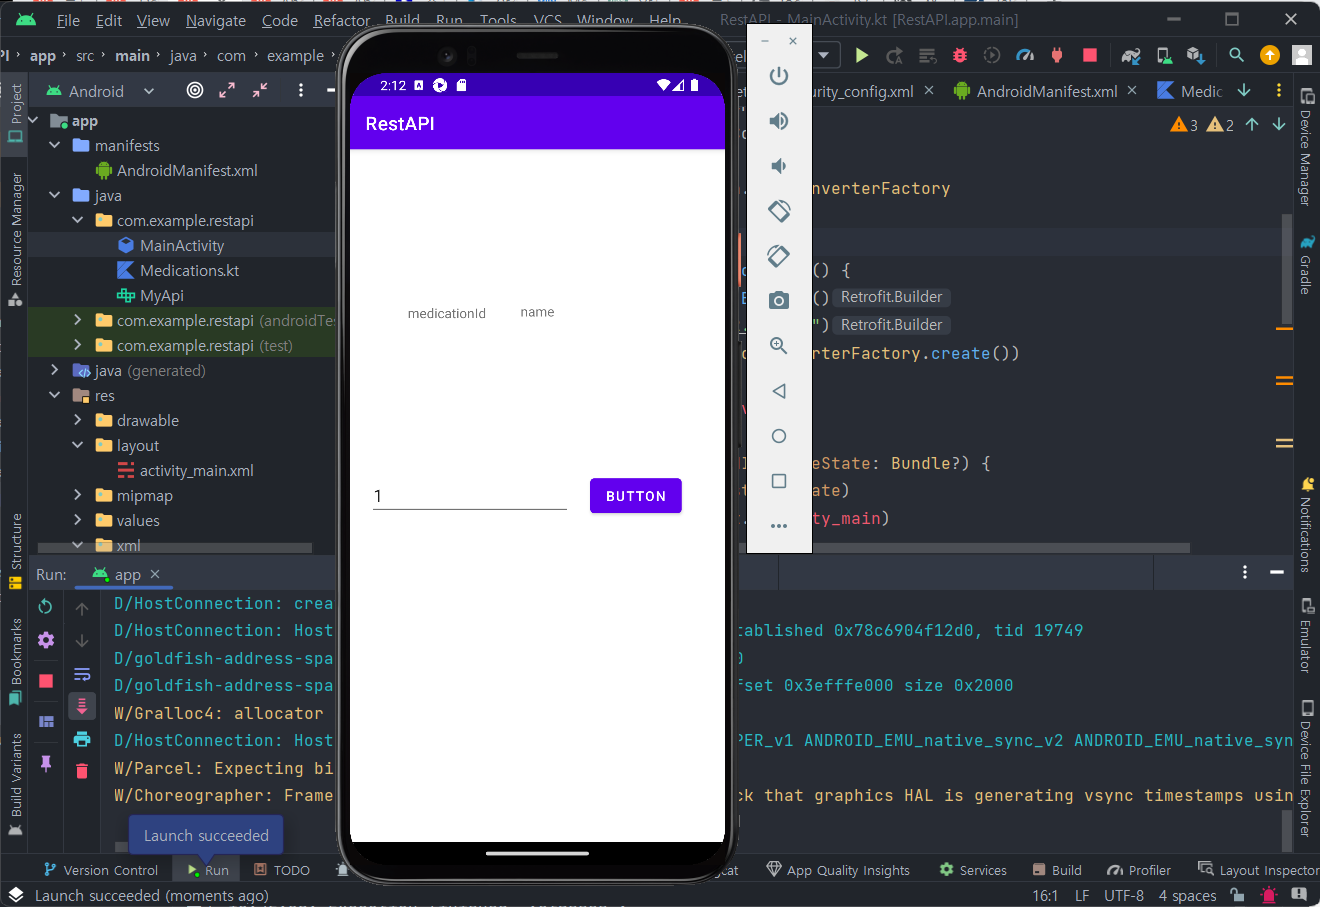
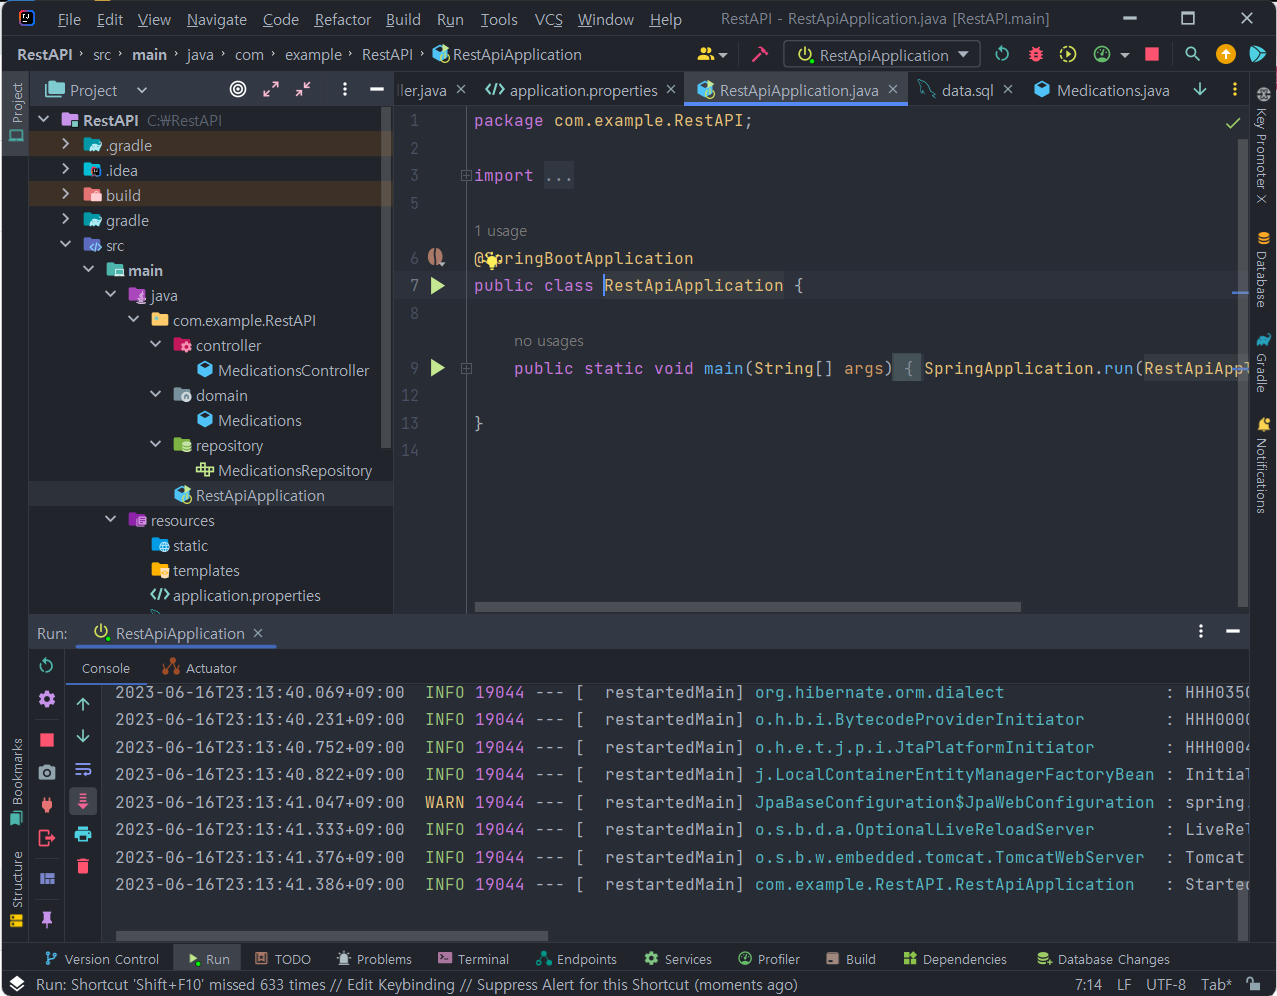
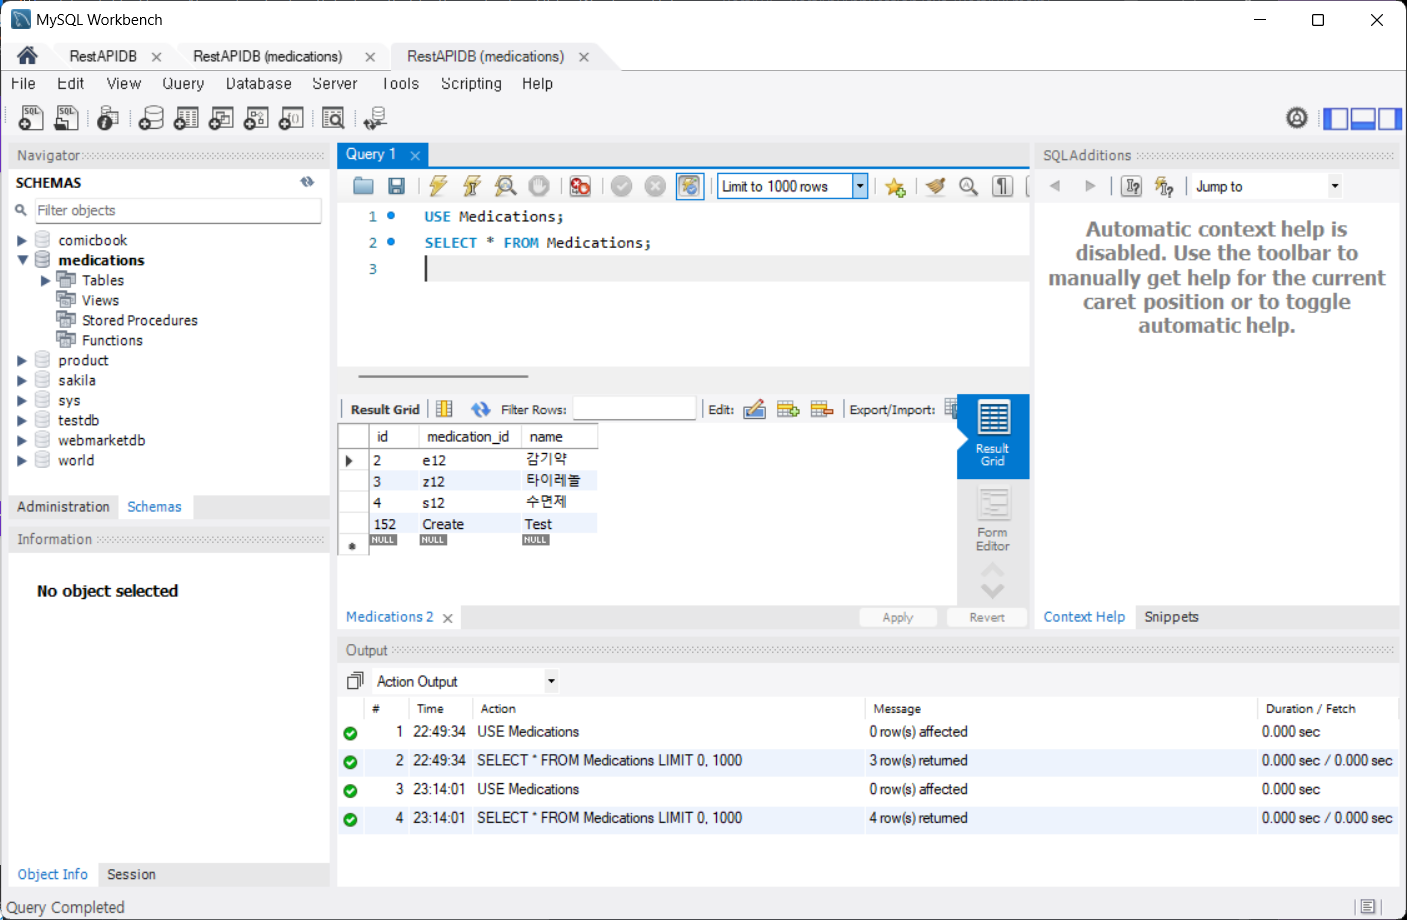
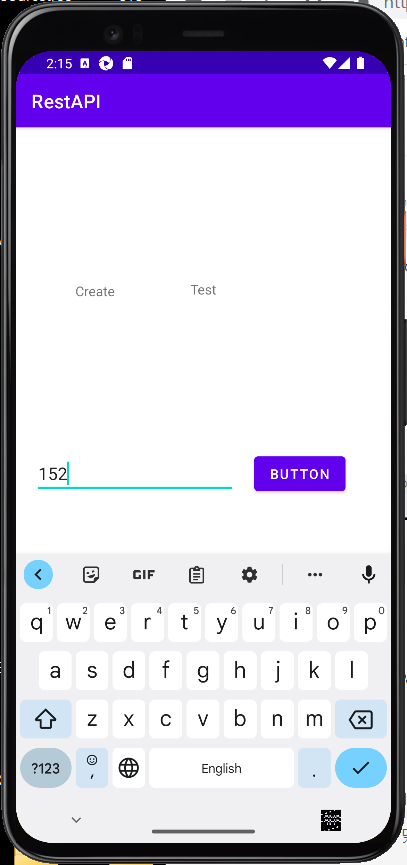
성공!
'Development > Kotlin&Android' 카테고리의 다른 글
| Android, Spring Boot, Mysql 데이터 파이프 라인 구축 실습 (Android)-1 프론트 UI 작업 (0) | 2023.06.16 |
|---|---|
| 브로드캐스트 리시버, 컨텐트 리졸버 (0) | 2023.06.01 |
| 코루틴, 서비스, 권한 (0) | 2023.05.30 |
| 안드로이드 데이터 저장 방식 (0) | 2023.05.18 |
| 메뉴와 네비게이션 UI (0) | 2023.05.09 |