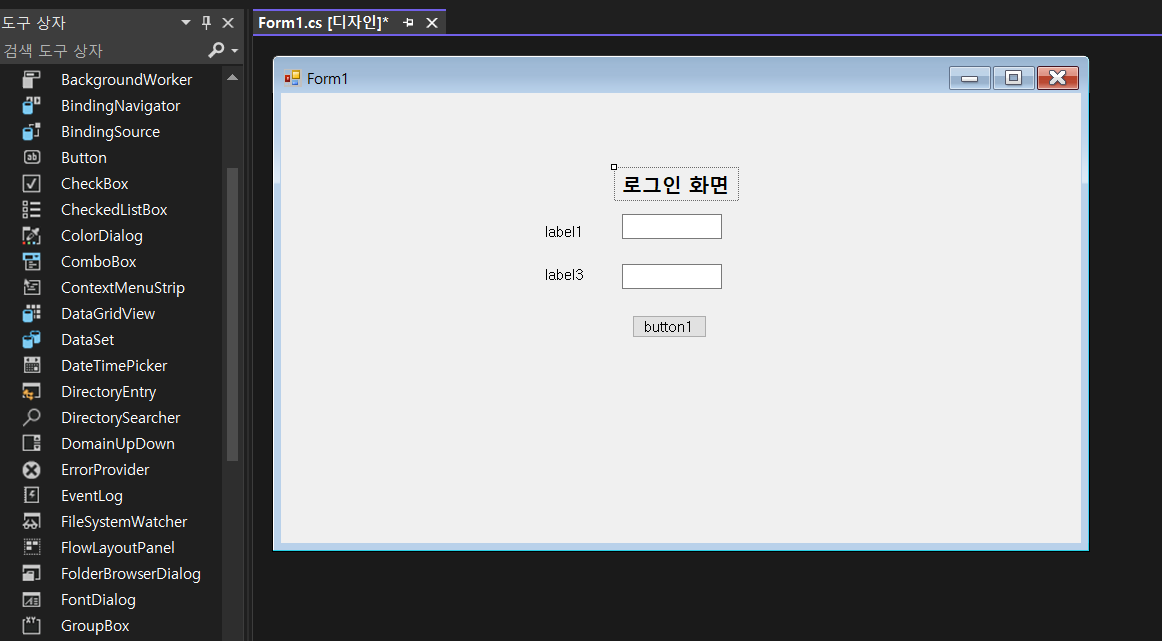
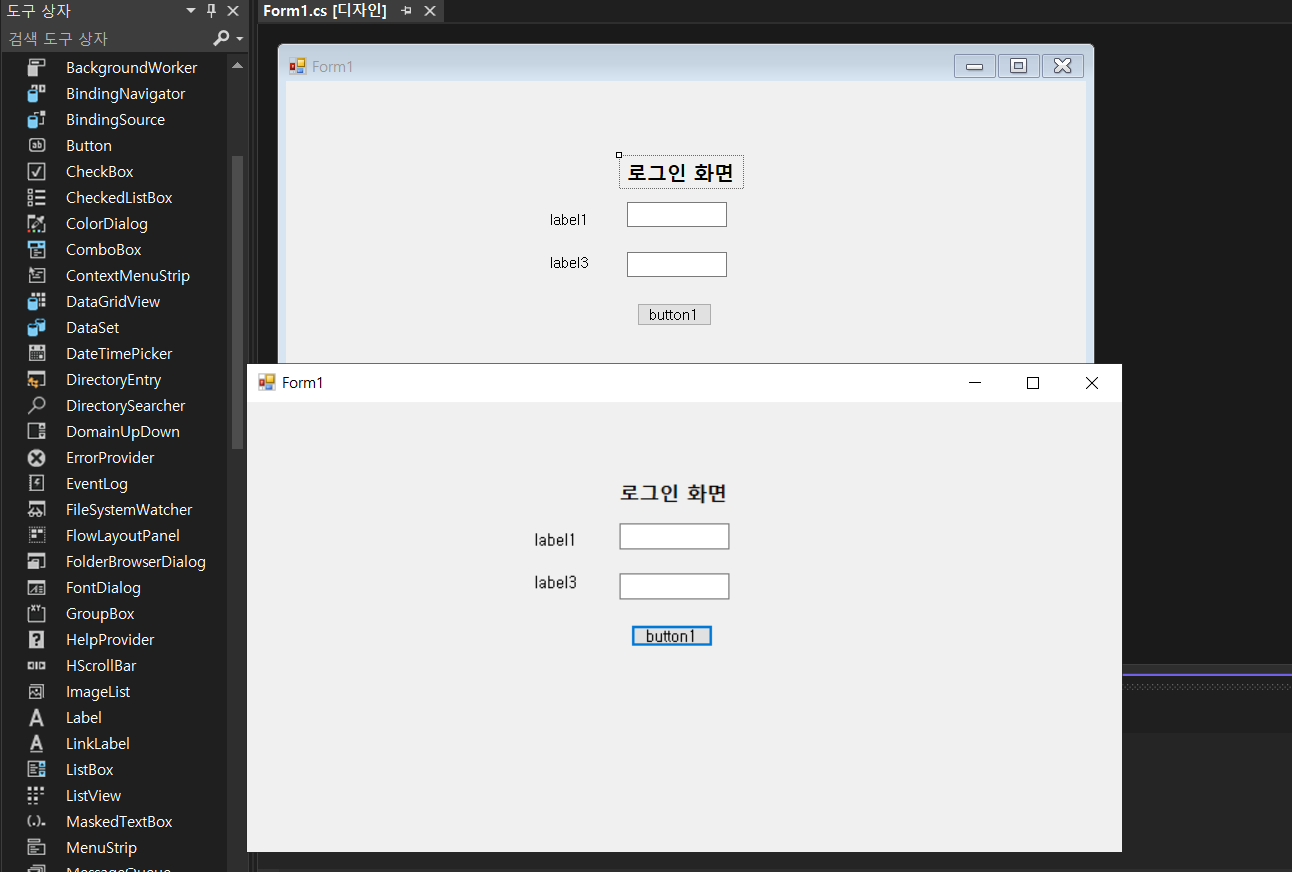
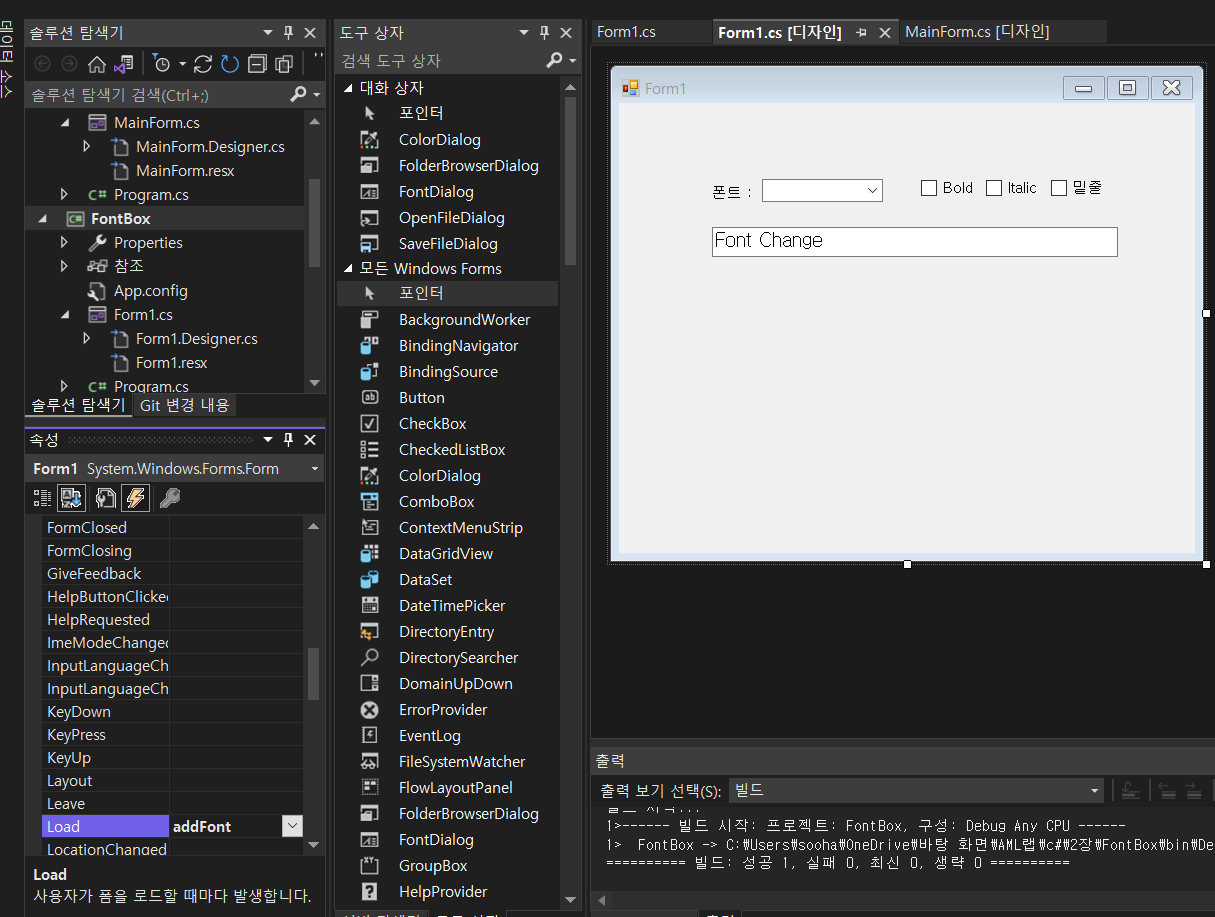
C# 윈도우 폼에서 특정 부분의 폰트를 설정하는 창을 만들어보자.

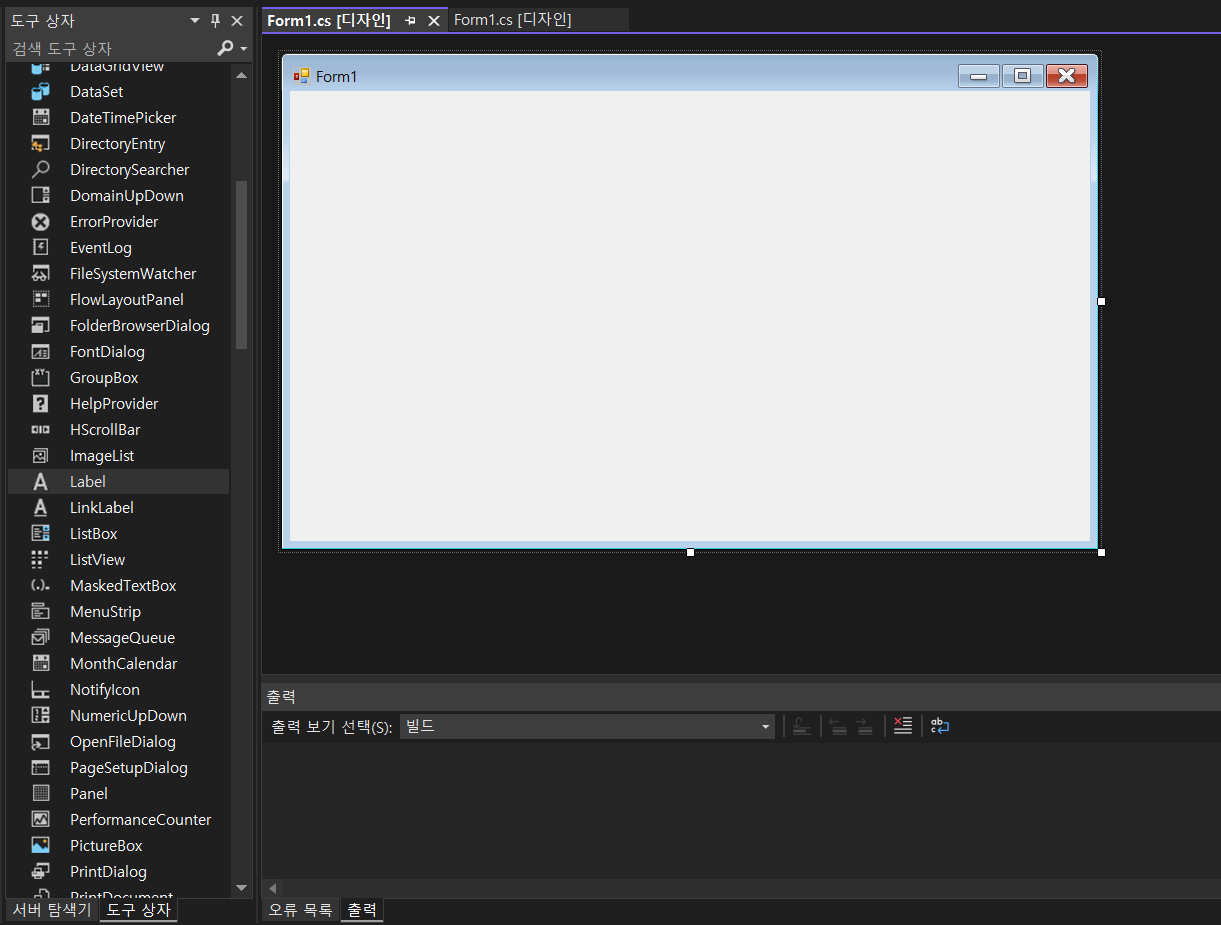
Form만 Load 이벤트 핸들러를 달아주고 나머지 박스들은 더블 클릭을 통해 자동으로 만들어진 껍질 사용
운영체제에 설치된 폰트 목록을 가져와 콤보박스에 넣는 함수
 // Form1의 load 이벤트 핸들러
        private void addFont(object sender, EventArgs e)
        {
            // 운영체제에 설치되어 있는 폰트 목록 가져오기
            FontFamily[] fonts = FontFamily.Families;
            // foreach 문을 통해 conboBox에 하나씩 넣기
            foreach (FontFamily font in fonts)
                comboFontBox.Items.Add(font.Name);
        }
폰트 설정 변경에 공통으로 사용할 함수
 void changeFont()
        {
            FontStyle style = FontStyle.Regular; // FontStyle 일반 스타일 설정

            if(boldCheckBox.Checked)
                style |= FontStyle.Bold; // Bold 효과 추가
            if (italicCheckBox.Checked)
                style |= FontStyle.Italic; // Italic 효과 추가
            if (underlineCheckBox.Checked)
                style |= FontStyle.Underline; // Underline 효과 추가

            // 설정한 폰트로 바꾸기 Font("폰트 이름", int(사이즈), FontStyle);
            textBox.Font = new Font((string)comboFontBox.SelectedItem, 12, style);
        }
전체코드:
using System;
using System.Collections.Generic;
using System.ComponentModel;
using System.Data;
using System.Drawing;
using System.Linq;
using System.Text;
using System.Threading.Tasks;
using System.Windows.Forms;

namespace FontBox
{
    public partial class Form1 : Form
    {
        public Form1()
        {
            InitializeComponent();
        }

        // Form1의 load 이벤트 핸들러
        private void addFont(object sender, EventArgs e)
        {
            // 운영체제에 설치되어 있는 폰트 목록 가져오기
            FontFamily[] fonts = FontFamily.Families;
            // foreach 문을 통해 conboBox에 하나씩 넣기
            foreach (FontFamily font in fonts)
                comboFontBox.Items.Add(font.Name);
        }
        // 폰트 변화에 공통적으로 사용할 함수
        void changeFont()
        {
            FontStyle style = FontStyle.Regular; // FontStyle 일반 스타일 설정

            if(boldCheckBox.Checked)
                style |= FontStyle.Bold; // Bold 효과 추가
            if (italicCheckBox.Checked)
                style |= FontStyle.Italic; // Italic 효과 추가
            if (underlineCheckBox.Checked)
                style |= FontStyle.Underline; // Underline 효과 추가

            // 설정한 폰트로 바꾸기 Font("폰트 이름", int(사이즈), FontStyle);
            textBox.Font = new Font((string)comboFontBox.SelectedItem, 12, style);
        }

        // Bold 체크 박스 클릭 이벤트 핸들러
        private void boldCheckBox_CheckedChanged(object sender, EventArgs e)
        {
            changeFont();
        }
        // Italic 체크 박스 클릭 이벤트 핸들러
        private void italicCheckBox_CheckedChanged(object sender, EventArgs e)
        {
            changeFont();
        }
        // 콤보박스 클릭 이벤트 핸들러
        private void comboFontBox_SelectedIndexChanged(object sender, EventArgs e)
        {
            changeFont();
        }
        // 밑줄 체크 박스 클릭 이벤트 핸들러
        private void underlineCheckBox_CheckedChanged(object sender, EventArgs e)
        {
            changeFont();
        }
    }
}
'Development > C#' 카테고리의 다른 글
| C# 같은 솔루션의 폼에서 다른 프로젝트의 폼 띄우기 (0) | 2023.01.18 |
|---|---|
| C# WinForm Tap 순서 바꾸기, Tap이 가지 않도록 하기 (0) | 2022.12.29 |
| C# GUI 개발 도구 WinForm (0) | 2022.12.27 |
| C# 콘솔 앱 에서 WinForm 실행시키기 .net 6.0 기준 (0) | 2022.12.25 |
| C# 이란? 기초 개념 (0) | 2022.12.24 |